Craft
Oiling Your Cutting Board and Wooden Bowls: A Guide to Olive Oil as a Wood Finish
Olive oil has long served as a natural finish for wooden kitchenware, slowing the drying and cracking that shortens a board's life. This guide covers when to apply it, how to do it properly, and which mistakes to avoid.
Translated from the Korean edition, originally published September 11, 2026 · read the original
Why wooden kitchenware needs oil in the first place
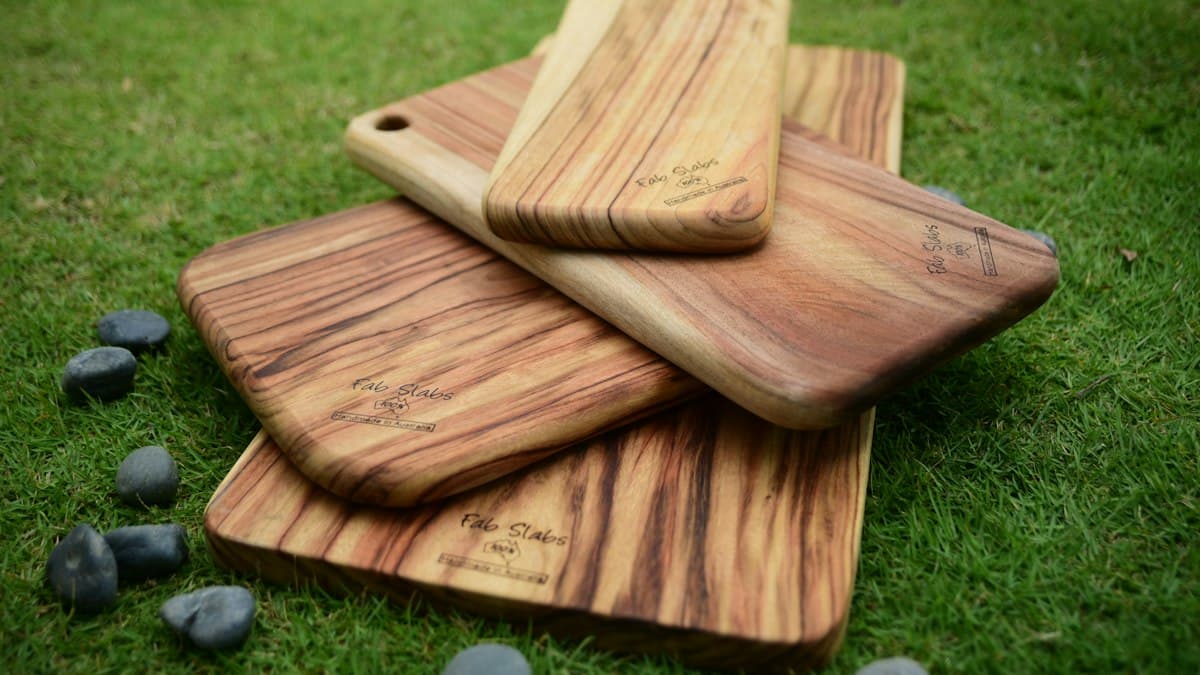
Wood continues to respond to ambient humidity long after it has been cut and shaped. When a cutting board or wooden bowl is repeatedly exposed to water, the fibres swell; in a dry environment, they lose moisture and contract. Over time, this cycle produces fine surface cracks that can become a hygiene concern. According to resources published by the USDA Forest Service, a compromised surface on wooden kitchenware increases the likelihood that bacteria can persist between the grain fibres.
For this reason, periodic application of an oil or wax finish is widely recommended for wooden kitchenware. Olive oil has been used for this purpose for a long time, valued for its food safety, ready availability, and ability to penetrate wood even in small quantities.
Which olive oil to use
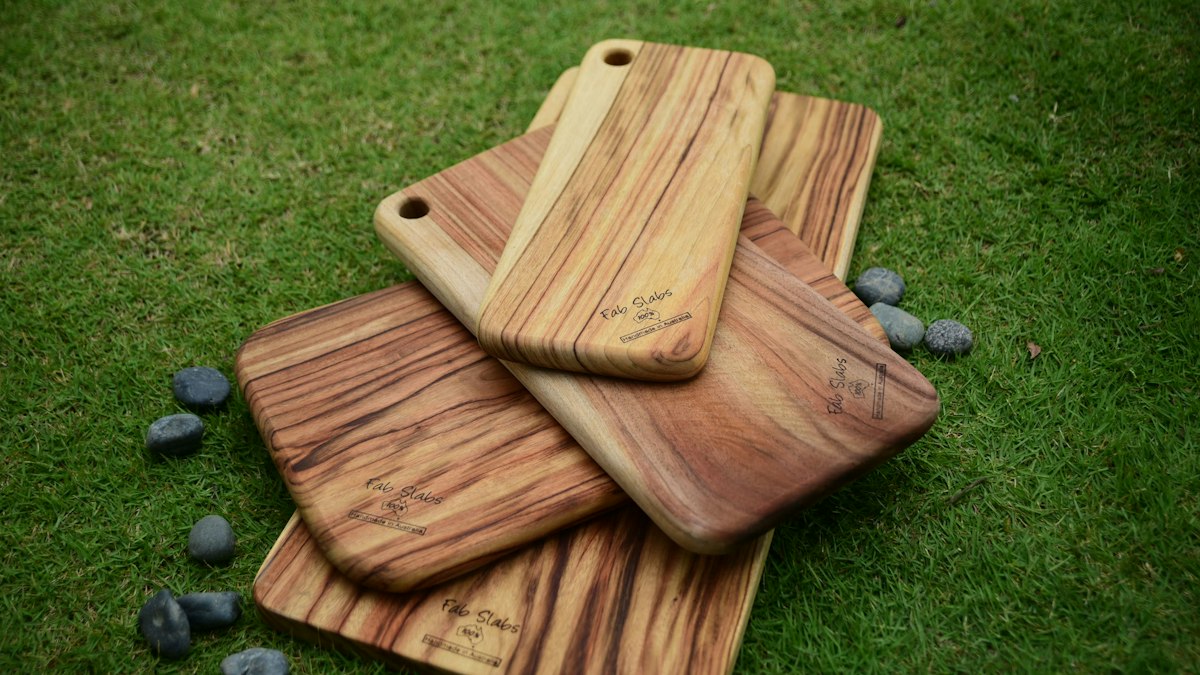
When choosing an olive oil for wood finishing, the most important consideration is how quickly it goes rancid. All oils oxidise over time, producing a characteristic stale, sour smell. If that smell develops inside a cutting board or bowl, it can affect the flavour of food prepared on it.
Extra virgin olive oil (EVOO) has a relatively high oleic acid content and a low degree of polyunsaturation, which means it oxidises comparatively slowly. Under International Olive Council (IOC) classification standards, the extra virgin grade must meet a free acidity of no more than 0.8% and a peroxide value no higher than 20 meq/kg — parameters that also reflect a low initial oxidation state.
By contrast, oils with a high proportion of polyunsaturated fats — such as linseed or walnut oil — behave as "drying oils", polymerising on the wood surface to form a hard coating. Olive oil is closer to a "semi-drying oil": it does not cure into a rigid film but absorbs into the grain, maintaining the wood's flexibility. This characteristic is generally considered an advantage for kitchenware, where suppleness matters more than a surface coat.
Refined "pure" olive oil can also be used, but the EVOO already in most kitchens works equally well and is the more practical choice.
When and how often to apply
A new cutting board or wooden bowl benefits from an initial seasoning process. Starting with fully dry wood allows the fibres to absorb as much oil as possible, which reduces the extent to which the piece will swell and contract later with water exposure.
The process is straightforward. For the first three to five days, apply a thin coat once a day and allow it to absorb fully before the next application. After that, once a month is a sensible routine — or whenever the surface looks chalky or no longer repels water. If the wood absorbs water quickly and feels rough to the touch, that is a reliable sign that another application is overdue.
Seasonal changes also provide a useful prompt. According to wood-storage guidance published by the Royal Horticultural Society (RHS), moisture loss from timber accelerates when relative humidity falls below 30% — conditions common in centrally heated homes during winter. In dry seasons, shortening the interval between applications is advisable.
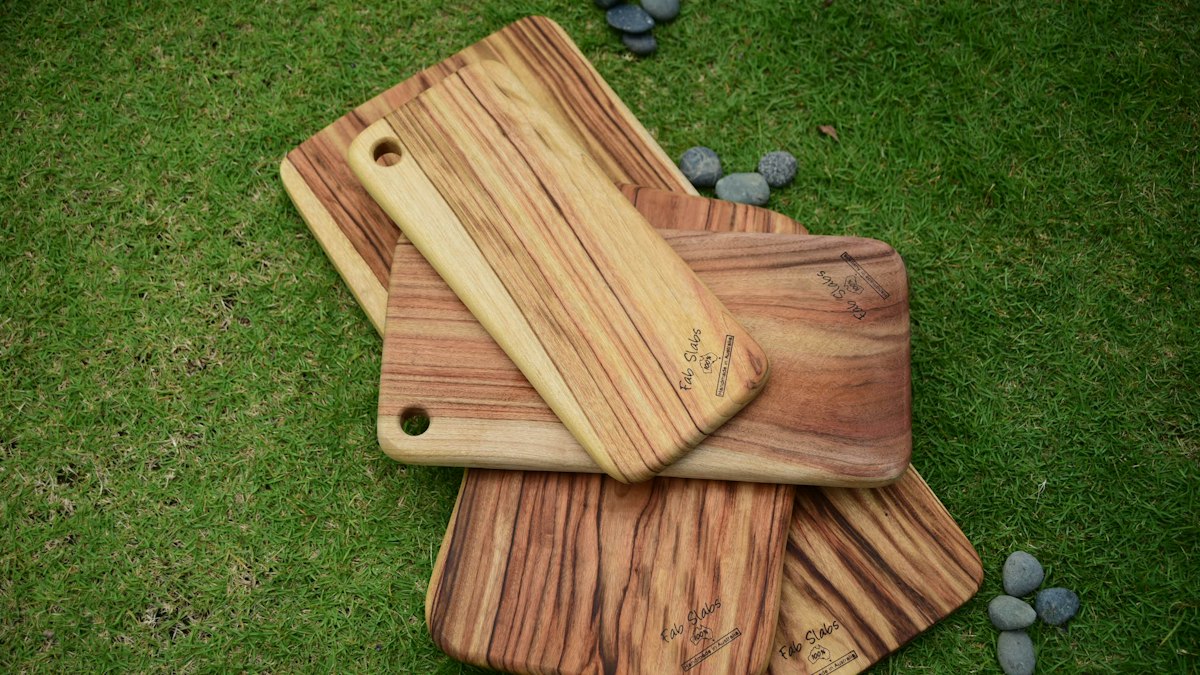
Step-by-step application
Step 1 — Wash and dry completely Before applying oil, rinse the board under running water, wipe away surface moisture with a cloth, and allow it to air-dry for at least 24 hours. Applying oil to damp wood causes the oil to bead on the surface rather than penetrate.
Step 2 — Apply the oil Place a small amount of olive oil on a clean cotton cloth or paper towel and work it into the wood in thin, even strokes following the grain direction. Multiple thin coats absorb more effectively than a single heavy one. On a cutting board, treat all surfaces — top, bottom, and sides. Oiling only one face creates uneven moisture absorption, which can cause the board to warp.
Step 3 — Allow absorption, then remove the excess Leave the oil to penetrate for 20 to 30 minutes, then wipe the surface with a dry cloth to remove any oil that has not been absorbed. Excess oil left on the surface becomes tacky and will pick up food particles and debris.
Step 4 — Final rest After wiping, leave the board or bowl out of service for at least four to six hours — overnight is ideal — so the absorbed oil can fully stabilise before the piece is used again.
Mistakes to avoid and storage basics
Sesame oil and perilla oil are not recommended for wood finishing. Both have a high polyunsaturated fat content, which accelerates oxidation; perilla oil in particular is sensitive to heat and light and is known to leave an off-smell on wood surfaces.
Coconut oil, while high in saturated fat, presents a different problem: it is solid at room temperature in many climates, making even distribution difficult, and it can repeatedly harden and soften inside the grain as temperatures fluctuate.
Regardless of how well a piece has been oiled, the dishwasher and long soaking in water should always be avoided. The high heat of a dishwasher and prolonged submersion expose wood to more moisture than any finish can reliably block. After hand-washing, store boards and bowls on their edge or propped upright so that both faces dry evenly — laying them flat on one side slows drying on the underside.
A well-maintained board tells you so: the surface is smooth to the touch and water beads on contact rather than soaking in. That water-beading behaviour is the clearest indicator that the wood is adequately conditioned.
Frequently asked questions
- Can you use olive oil on a wooden cutting board?
- Yes. Extra virgin olive oil is a practical and food-safe option for conditioning wooden cutting boards and bowls. Its relatively high oleic acid content means it oxidises more slowly than many seed oils, reducing the risk of a rancid smell developing in the wood.
- How often should you oil a wooden cutting board?
- For a new board, apply a thin coat once a day for three to five days as an initial seasoning. After that, once a month is a reasonable baseline — or whenever the surface looks dull or no longer beads water. In very dry environments (relative humidity below 30%), more frequent applications are advisable.
- What is the best oil to use on a wooden cutting board?
- Food-safe, slow-oxidising oils are preferred. Extra virgin olive oil is a widely recommended choice. Avoid oils with a high proportion of polyunsaturated fats — such as flaxseed or walnut oil used straight — because they can turn rancid on the wood surface and transfer off-flavours to food.
- How do you apply olive oil to a cutting board step by step?
- Wash the board, dry it thoroughly with a cloth, then let it air-dry for at least 24 hours. Apply a small amount of olive oil with a clean cotton cloth or paper towel, working with the grain. Let it absorb for 20–30 minutes, then wipe away any excess. Leave the board unused for at least four to six hours — overnight if possible — before putting it back into service.
- Is coconut oil or sesame oil good for seasoning a cutting board?
- Coconut oil is solid at room temperature, which makes even distribution difficult; as temperatures fluctuate it can repeatedly harden and soften inside the grain. Sesame oil and perilla oil both have a high polyunsaturated fat content, which accelerates oxidation and increases the likelihood of an off-smell developing on the wood surface. Neither is generally recommended for this purpose.
Related reading
- Olive Oil Confit: A Complete Guide to Low-Temperature Oil Cooking
Confit — the French technique of slow-cooking ingredients submerged in oil at low heat — finds a natural partner in extra virgin olive oil, which preserves moisture, concentrates flavor, and adds its own grassy depth to garlic, vegetables, and poultry alike.
- Set Up a Home Olive Oil Tasting: Lighting, Temperature, Glasses, and Tasting Notes
A professional-level olive oil tasting environment does not require special equipment. This guide walks through the exact setup — lighting, oil temperature, glass selection, and a simple scoresheet — that lets any curious cook build real sensory skills at home.
- Fat Does the Heavy Lifting: Olive Oil in Gluten-Free Baking
When gluten is removed from a recipe, fat takes on structural work it never had to do before. This guide covers the conversion ratios, cultivar choices, and mixing techniques that make olive oil a reliable butter substitute in gluten-free baking.
- Before or After: The Complete Guide to Seasoning with Olive Oil
Coating ingredients with olive oil before cooking and finishing a dish with it afterward are two fundamentally different techniques. This guide covers oil-coating mechanics, marinade sequencing, and the heat chemistry that determines when each approach works best.
- Olive Oil Sprayers: How Your Dispensing Method Affects Oil Quality
Convenience should not come at the cost of the oil itself. A guide to pump misters, hand-pump sprayers, and aerosol cans — and how each one treats your extra virgin olive oil.
- Stop Throwing Away Pasta Water: The Emulsion Science Behind a Perfect Sauce
Starch dissolved in pasta cooking water acts as an emulsifier that binds olive oil into a smooth, clingy sauce. This step-by-step guide covers the chemistry, the correct pan technique, and how your choice of extra virgin olive oil shapes the final result.